
Maintaining Azure Persistence via Automation Accounts
In every penetration test that involves Azure, we want to escalate our privileges up to a global administrator of the tenant. Once we’ve escalated our privileges in an Azure tenant, we want to have the ability to maintain our access to each subscription and the tenant as a whole. Aside from the benefits of controlling the Azure tenant, it can be really handy to have an Azure backdoor that could (potentially) be used to pivot back into the main AD environment.
After escalating privileges in the Azure Tenant, we can make use of Automation Runbooks to persist in the Azure environment. There are multiple ways to persist in Azure, but for this post, we will focus on using Automation Accounts that are configured with excessive privileges, automation runbooks, and webhook triggers that will allow us to regain access to an Azure environment, with a single POST request.
TLDR
Want to maintain privileges in Azure? Add an Automation Account with excessive privileges that can be used to add new accounts (with Subscription Owner permissions) to AzureAD via a single POST request.
Potential Persistence Scenario
For the purposes of this blog, imagine this fairly standard Azure attack life cycle:
- Attacker compromises an Azure account/system
- Attacker escalates Azure privileges up to Global Administrator
- Blue team revokes initial access and/or Global Administrator access
In this type of scenario, we will want to have some type of persistence option available to re-enable our access into a tenant. Based off of my experience, Automation accounts typically fly under the radar. If they are set up properly, they can be use to regain Owner (or higher*) permissions to subscriptions in the Azure tenant with a new AzureAD account.
Since newly created Azure accounts are more likely to get noticed, they should be used for short term access. While the Automation Accounts will act as the long haul persistence account. The Automation Accounts can also be configured for password access, or cert-based authentication, so those can also be an option for getting back into the subscription.
General Process:
- Create a new Automation Account
- Import a new runbook that creates an AzureAD user with Owner permissions for the subscription*
- Sample runbook for this Blog located here – https://github.com/NetSPI/MicroBurst
- Add the AzureAD module to the Automation account
- Update the Azure Automation Modules
- Assign “User Administrator” and “Subscription Owner” rights to the automation account
- Add a webhook to the runbook
- Eventually lose your access…
- Trigger the webhook with a post request to create the new user
*This runbook could be modified to be run as a global admin that creates a new global admin, but that’s really noisy. Let me know if you do this. I’d be interested to see how well it works.
I realize this is a bit of a legwork just to maintain persistence. The eventual goal is to automate this process with some PowerShell and integrate it with the existing MicroBurst tools.
Creating the Automation Account
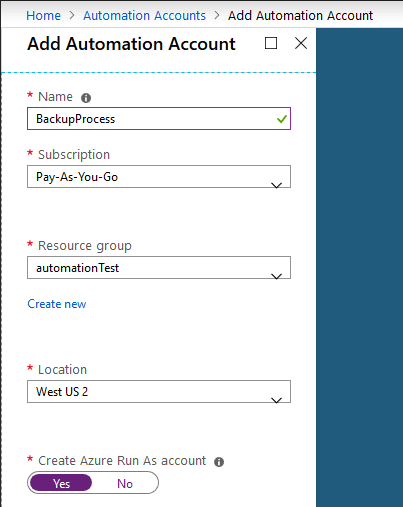
Navigate to the “Automation Accounts” section of the Azure portal and create a new automation account. Naming it something basic, like BackupAutomationProcess, should avoid raising too many suspicions. Make sure that you set the “Create Azure Run As account” to yes, as this will be needed to run the backdoor runbook code.
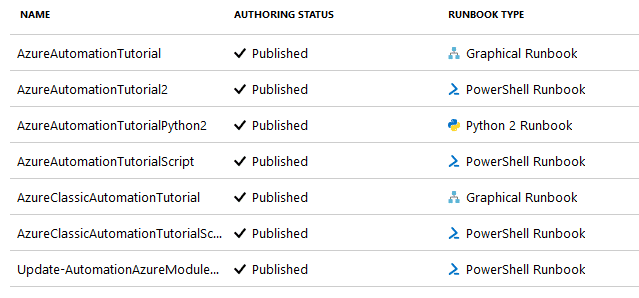
If you want to blend in with the default runbooks, the imported runbook name should follow the same naming strategy as the tutorials (AzureAutomationTutorial*). If you follow this naming convention, you will want to import and publish your malicious runbook into the account as soon as possible. The closer the timestamp is to your other tutorial runbooks, the less suspicious it will be.
Can you tell which of these runbooks is the malicious one?
Once imported, you will also need to publish the runbook. This will then allow you to set a webhook for remote triggering of the runbook. To set the webhook, go to the Webhooks tab under the runbook.

Depending on how long your operation is running, you may want to set your expiration date way off in the future to protect your ability to trigger the webhook.
Important Step – Copy the webhook URL and keep it for when you need to trigger your backdoor.
Module Maintenance
Since the AzureAD module is not standard for Automation Accounts, you will need to import it into your account. Go to the Modules tab for the Automation account and use the “Browse Gallery” feature to find the “AzureAD” module. Import it into your account, wait a few (5-10) minutes for it to deploy. The modules can sometimes take a while to populate to the Automation Accounts, so be patient.

Additionally, your Automation Account may not play nicely with the current/old version of the AzureRM modules. I don’t really know why this is still an issue for Azure, but you may need to update your Azure Automation Modules.
This can be done with this runbook – https://aka.ms/UpdateModulesRunbookGitHub
Since we’re using a new Automation Account, the updates shouldn’t cause any issues with existing runbooks. Alternatively, if you’re using an existing Automation account for all of this, updating the modules could cause compatibility issues with existing runbooks. You would also need to assign the additional rights to the existing automation account, which is what we will cover next.
Setting Automation Account Rights
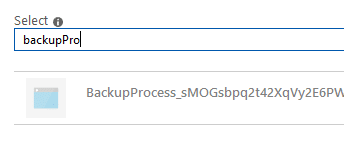
Once the automation account is configured and the webhook is set, the automation account will need the proper rights to add a new user, and give it owner rights on the subscription. To add these rights, navigate to the Azure Active Directory tab with a tenant admin account, and open the “Roles and Administrators” section. Within that section open the “User Administrator” role and add the automation account to the group. The Automation Account will be labeled with the name of the account, and a base64 string appended at the end.
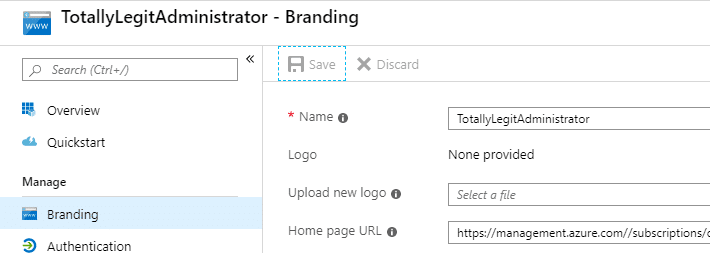
Given the fact that this username may stick out against the other users in the group, you may want to rename the Automation Account. This can be done in the AzureAD->App Registrations section, under “Branding”.
After adding user administrator rights, the automation account user will needed to be added as an owner on the subscription. This can be done through the subscriptions tab. Select the subscription that you want to persist in, and go to the Access Control (IAM) tab. Add the Owner role assignment to your Automation account, and you should be all set. This will also take a few minutes to populate, so give it a little while before you actually try to trigger the webhook.
Triggering the Webhook
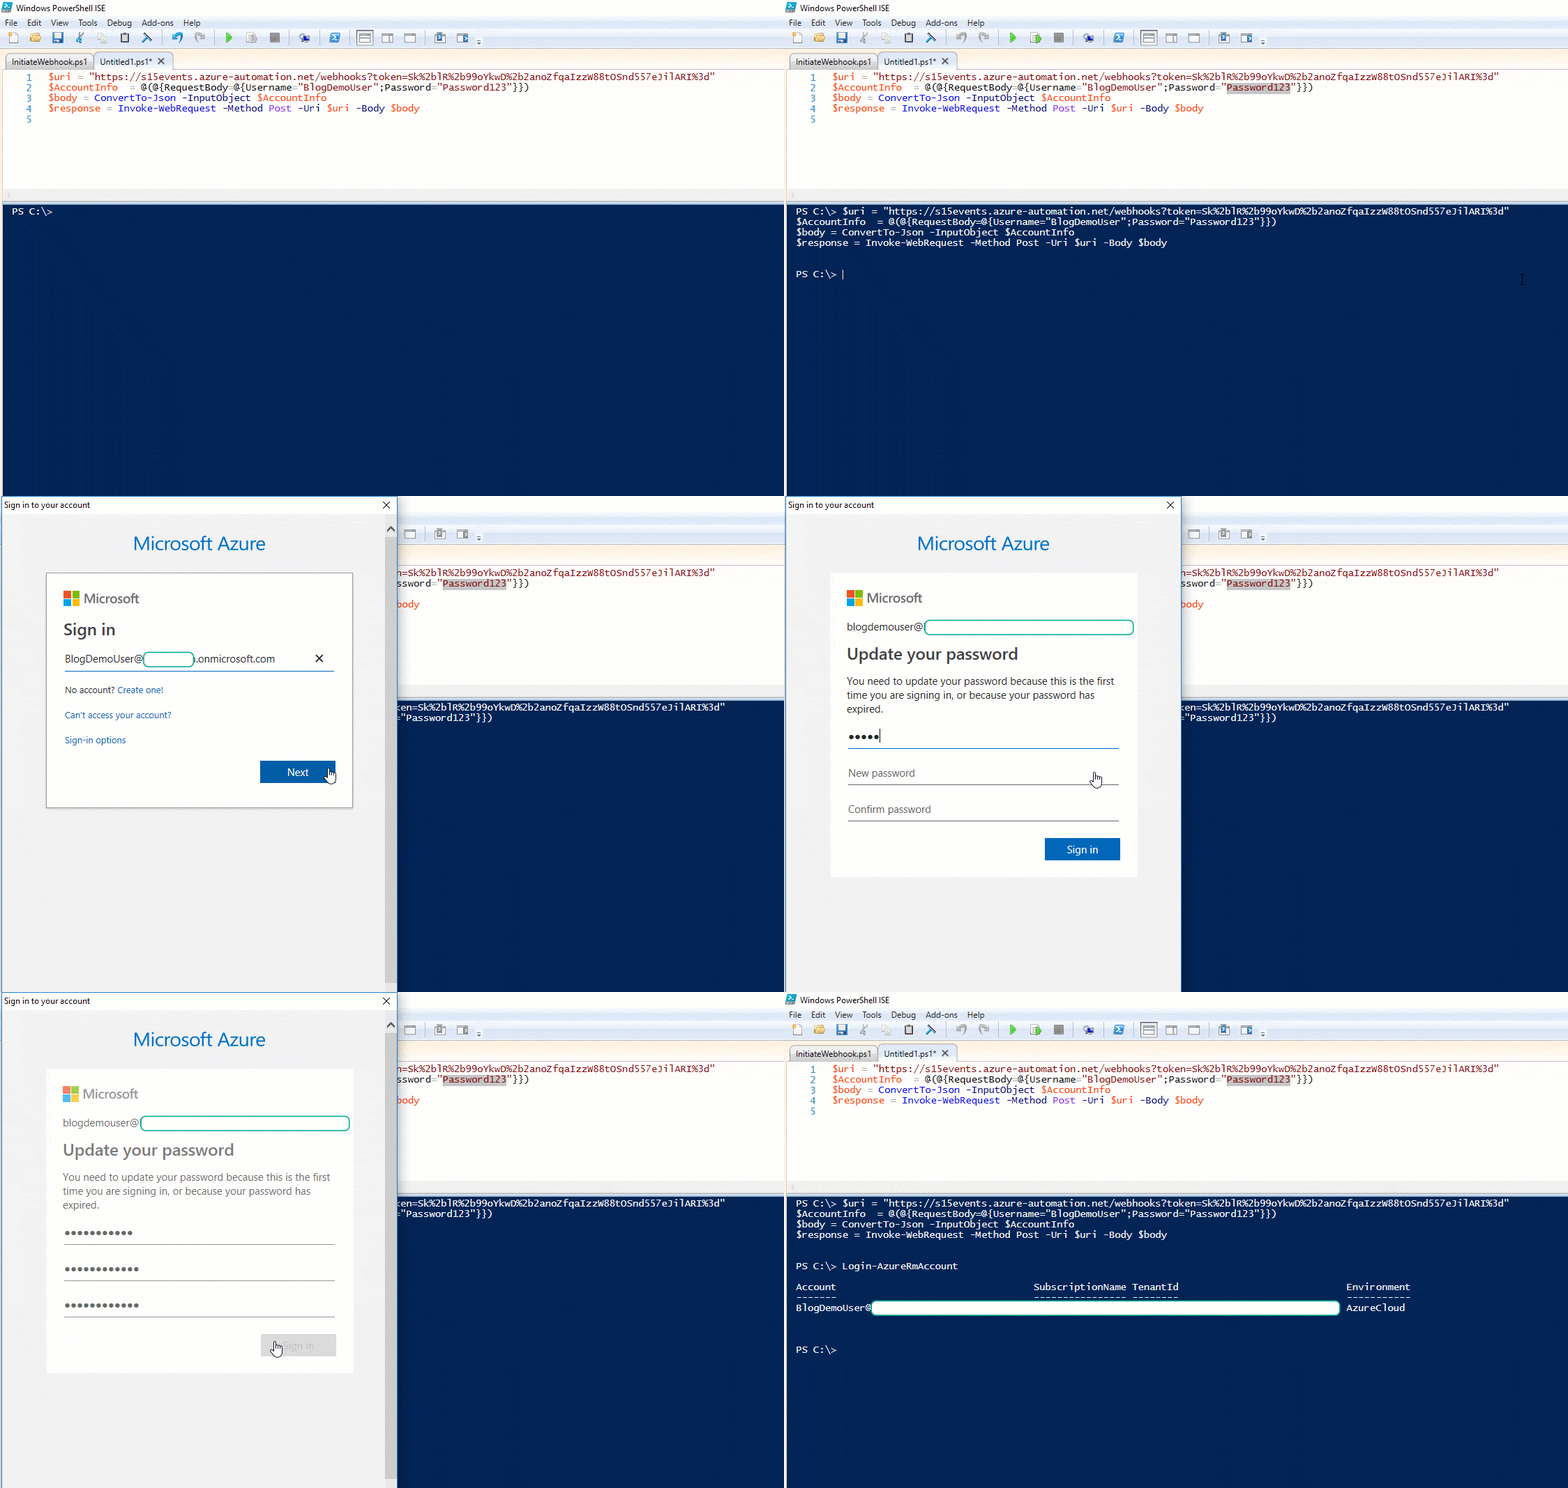
Let’s say that after escalating privileges and setting a persistence backdoor, the compromised tenant admin account gets flagged, and now you’re locked out. Using the webhook URL from the earlier steps, and the example caller function below, you can now create a new subscription owner account (BlogDemoUser- Password123) for yourself in Azure.
$uri = "https://s15events.azure-automation.net/webhooks?token=h6[REDACTED]%3d" $AccountInfo = @(@{RequestBody=@{Username="BlogDemoUser";Password="Password123"}}) $body = ConvertTo-Json -InputObject $AccountInfo $response = Invoke-WebRequest -Method Post -Uri $uri -Body $body
This process may take a minute, as the runbook job will need to spool up, but after it has completed, you should have a newly minted subscription Owner account.
Potential Concerns and Detection Techniques
While this process can be somewhat quiet in the right environment, it may be fairly obvious in the wrong one.
A couple of things to keep in mind:
- Creating a new AzureAD user could/should trigger an alert
- Creating a new Automation Account could/should trigger an alert
- Adding a user to the User Administrators and Owners groups could/should trigger an alert
Since the Automation Accounts section are not typically in an Azure user’s portal dashboard, an attacker may be able to hide out for a while in the automation account.
Explore more blog posts

CTEM Defined: The Fundamentals of Continuous Threat Exposure Management
Learn how continuous threat exposure management (CTEM) boosts cybersecurity with proactive strategies to assess, manage, and reduce risks.

Balancing Security and Usability of Large Language Models: An LLM Benchmarking Framework
Explore the integration of Large Language Models (LLMs) in critical systems and the balance between security and usability with a new LLM benchmarking framework.

From Informational to Critical: Chaining & Elevating Web Vulnerabilities
Learn about administrative access and Remote Code Execution (RCE) exploitation from a recent Web Application Pentest.